Studio Acoustic Foam Panel: Your Ultimate Guide to Soundproofing Bliss
Imagine a world where your music sounds crystal clear, your recordings are flawless, and your neighbors are blissfully unaware of your sonic adventures. The Studio Acoustic Foam Panel is the key to unlocking this acoustic oasis, transforming your room into a sonic sanctuary.
Unveiling the Marvels of Acoustic Foam
Acoustic foam is a miracle worker when it comes to soundproofing. Its porous structure traps sound waves, preventing them from bouncing around your room and creating unwanted echoes and reverberations. This creates a more controlled acoustic environment, ensuring that your audio creations and musical performances reach their full potential.
Types of Acoustic Foam: A Buyer's Guide
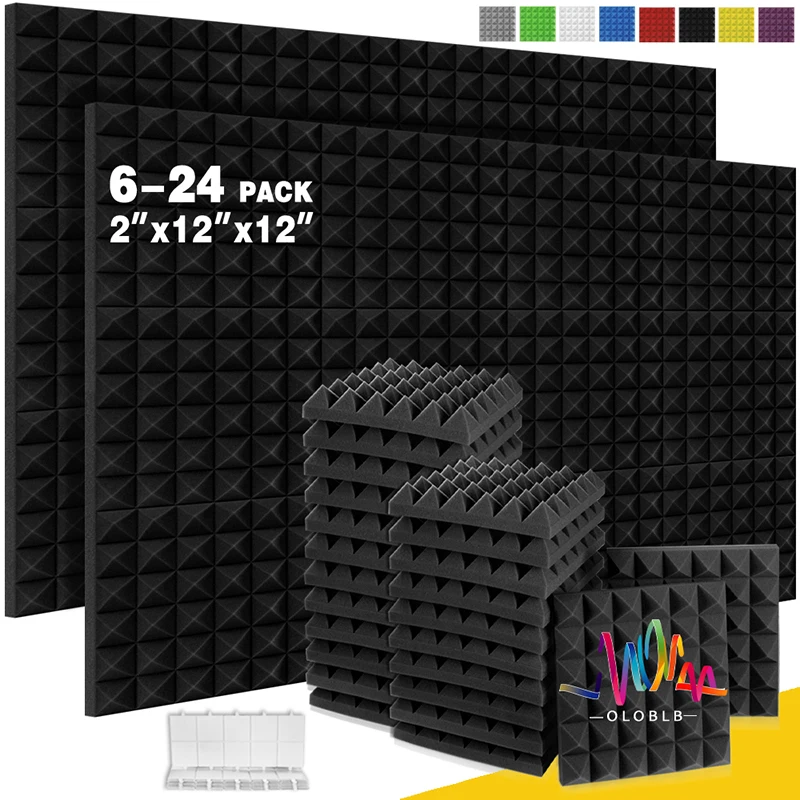
Navigating the world of acoustic foam can be daunting, but fret not! Here's a quick breakdown of the main types:
- Melamine Foam: The most common type, melamine foam is an effective sound absorber with a high NRC (Noise Reduction Coefficient).
- Polyurethane Foam: With a denser composition, polyurethane foam offers increased sound absorption and durability.
- Polyester Foam: Environmentally friendly and fire-retardant, polyester foam provides a cost-effective option with decent sound absorption.
Selecting the appropriate acoustic foam depends on your specific needs and budget. Consider factors like:
Installing acoustic foam is a breeze with our effortless guide:
- Clean the Surface: Remove any dust or debris from the wall or ceiling where you'll be installing the foam.
- Apply Adhesive: Use a spray adhesive specifically designed for acoustic foam, following the manufacturer's instructions.
- Attach the Foam: Carefully align the foam panels and press them firmly onto the adhesive.
With the Studio Acoustic Foam Panel, you're just a few simple steps away from achieving the perfect acoustic environment for your recording studio, home theater, or any space where sound quality is paramount. Immerse yourself in a world of sonic perfection, where your music, recordings, and listening experiences soar to new heights.
- F405 F405HD F7 F722 Flight Controller F4 V3S Plus FC + 45A 60A 4in1 BLheli_S ESC Stacks 30.530.5mm For RC FPV Racing Drone
- 2.4GHz Wireless Gaming Mouse: Enhanced Precision, Seamless Control
- Fairywill Water Dental Flosser: Unlock a Pristine Smile!
- Disney Diamond Art Mickey Mouse And Donald Duck Diamond Painting 5D Full Drill Kit Graffiti Banksy Decor Rhinestones Pictures
- New 5G WiFi 7 Inch Tablet Pc Children's Gift Kids Learning Education Tablets Android 9.0 Quad Core 4GB RAM 64GB ROM Dual Cameras