Raspberry Pi 4: The Ultimate Guide for Beginners
Raspberry Pi, a tiny yet mighty computer, has revolutionized the world of technology. With its compact size and extensive capabilities, it has become an indispensable tool for enthusiasts, students, and professionals alike. In this comprehensive guide, we will delve into the amazing world of Raspberry Pi 4, Model B, unveiling its features, potential applications, and everything you need to know to get started.
Features that Set it Apart
The Raspberry Pi 4 Model B boasts a plethora of features that set it apart from its predecessors. Here are a few key highlights:Enhancing Performance with More RAM
One of the most notable upgrades in Raspberry Pi 4 Model B is the increased RAM capacity. It comes in three variants: 2GB, 4GB, and 8GB. This additional memory allows for smoother multitasking, handling heavy applications, and working with large datasets.Powerhouse Performance with Quad-Core CPU
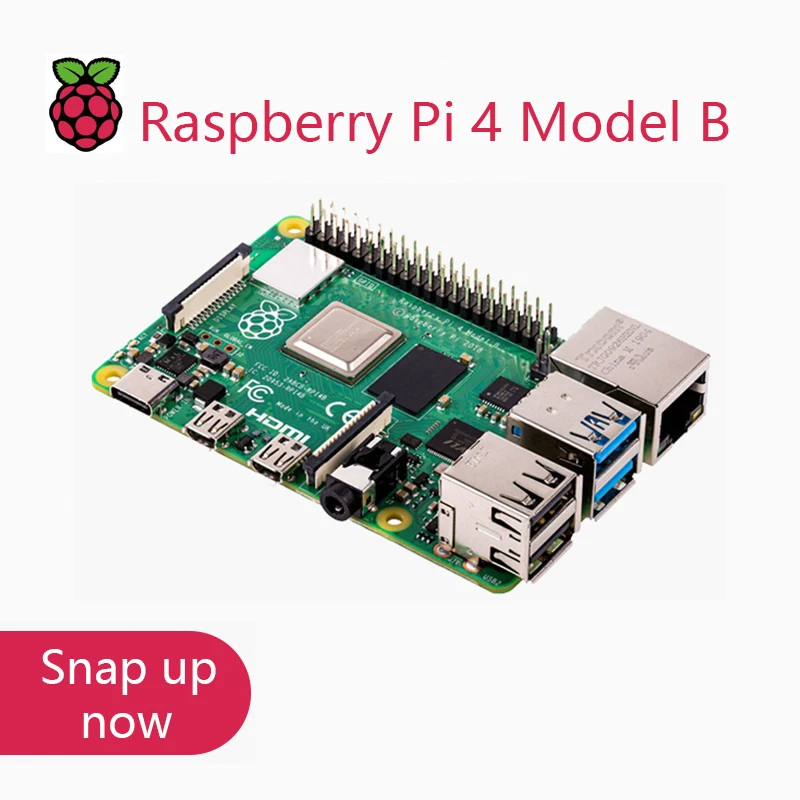
The Raspberry Pi 4 Model B is equipped with a quad-core ARM Cortex-A72 CPU, a significant upgrade from the dual-core CPU in Raspberry Pi 3B+. With clock speeds of up to 1.5GHz, it delivers impressive performance for a wide range of tasks, including media playback, web browsing, coding, and gaming.Unleashing Connectivity Options
The Raspberry Pi 4 Model B offers a vast array of connectivity options, making it adaptable to numerous projects. Its dual-band 2.4GHz/5GHz Wi-Fi ensures seamless wireless connectivity, while Bluetooth 5.0 technology enables effortless pairing with various Bluetooth devices. Additionally, two USB 3.0 ports provide lightning-fast data transfer speeds and enhanced peripheral support.Getting Started with Raspberry Pi 4
To embark on your Raspberry Pi 4 journey, you will need a few essential components:Power Supply:
Choose a compatible power supply to provide power to your Raspberry Pi.Micro SD Card:
A micro SD card is essential for storing the operating system and software.USB Keyboard and Mouse:
These peripherals allow you to interact with your Raspberry Pi.HDMI Cable:
If you wish to display your Raspberry Pi's output on a monitor, you will need an HDMI cable.Setting Up Your Raspberry Pi
Follow these steps to set up your Raspberry Pi:1. Format your micro SD card using the SD Card Association's formatter.
2. Download the latest Raspberry Pi OS (formerly Raspbian) image from the official website.
3. Use a tool like Etcher to burn the operating system image onto your micro SD card.
4. Insert the micro SD card into the Raspberry Pi.
5. Connect the power supply, keyboard, mouse, and HDMI cable to your Raspberry Pi.
6. Power on your Raspberry Pi and follow the on-screen instructions to complete the setup.
Exploring Raspberry Pi's Potential
With your Raspberry Pi set up, the possibilities are endless. Here are a few ideas to get you started:- Home Automation: Control your home appliances and devices remotely.
- Media Center: Stream movies, music, and TV shows from your Raspberry Pi.
- Retro Gaming: Relive your childhood gaming memories by playing classic games on your Raspberry Pi.
- Educational Projects: Engage in hands-on learning with coding, electronics, and robotics projects.
- Networking: Set up your Raspberry Pi as a router, access point, or firewall.
Embracing the Raspberry Pi 4
The Raspberry Pi 4 Model B is a powerful and versatile computer that has opened up a world of opportunities for innovators, makers, and enthusiasts. Its compact size, exceptional performance, and extensive connectivity options make it an ideal choice for a wide range of projects. Whether you are a beginner or an experienced user, the Raspberry Pi 4 offers limitless possibilities to explore the world of computing and technology.So, if you are looking for a fun, educational, and rewarding experience, the Raspberry Pi 4 Model B is the perfect device to unleash your creativity and bring your project ideas to life.
- Large Size Summer Outdoor Rubber Hard-wearing Men Sneakers Men's Running Shoes Sport Women Sports Shoes Men Red Male GMB-0142
- The Ultimate Guide to the DAREVIE Cycling Jersey
- Unveiling the Enchanting Treasures of Mumbai: A Souvenir Guide for the Discerning Traveler
- Plug and Play Gamepad PUBG Mobile Controller Gaming Keyboard Mouse Converter Bluetooth 5.0 for Android Adapter
- 681012 Head DC48V Ultrasonic Humidifier Mist Maker Fogger Machine & 110V 220V Waterproof Power Supply Fog Sprayer Generator